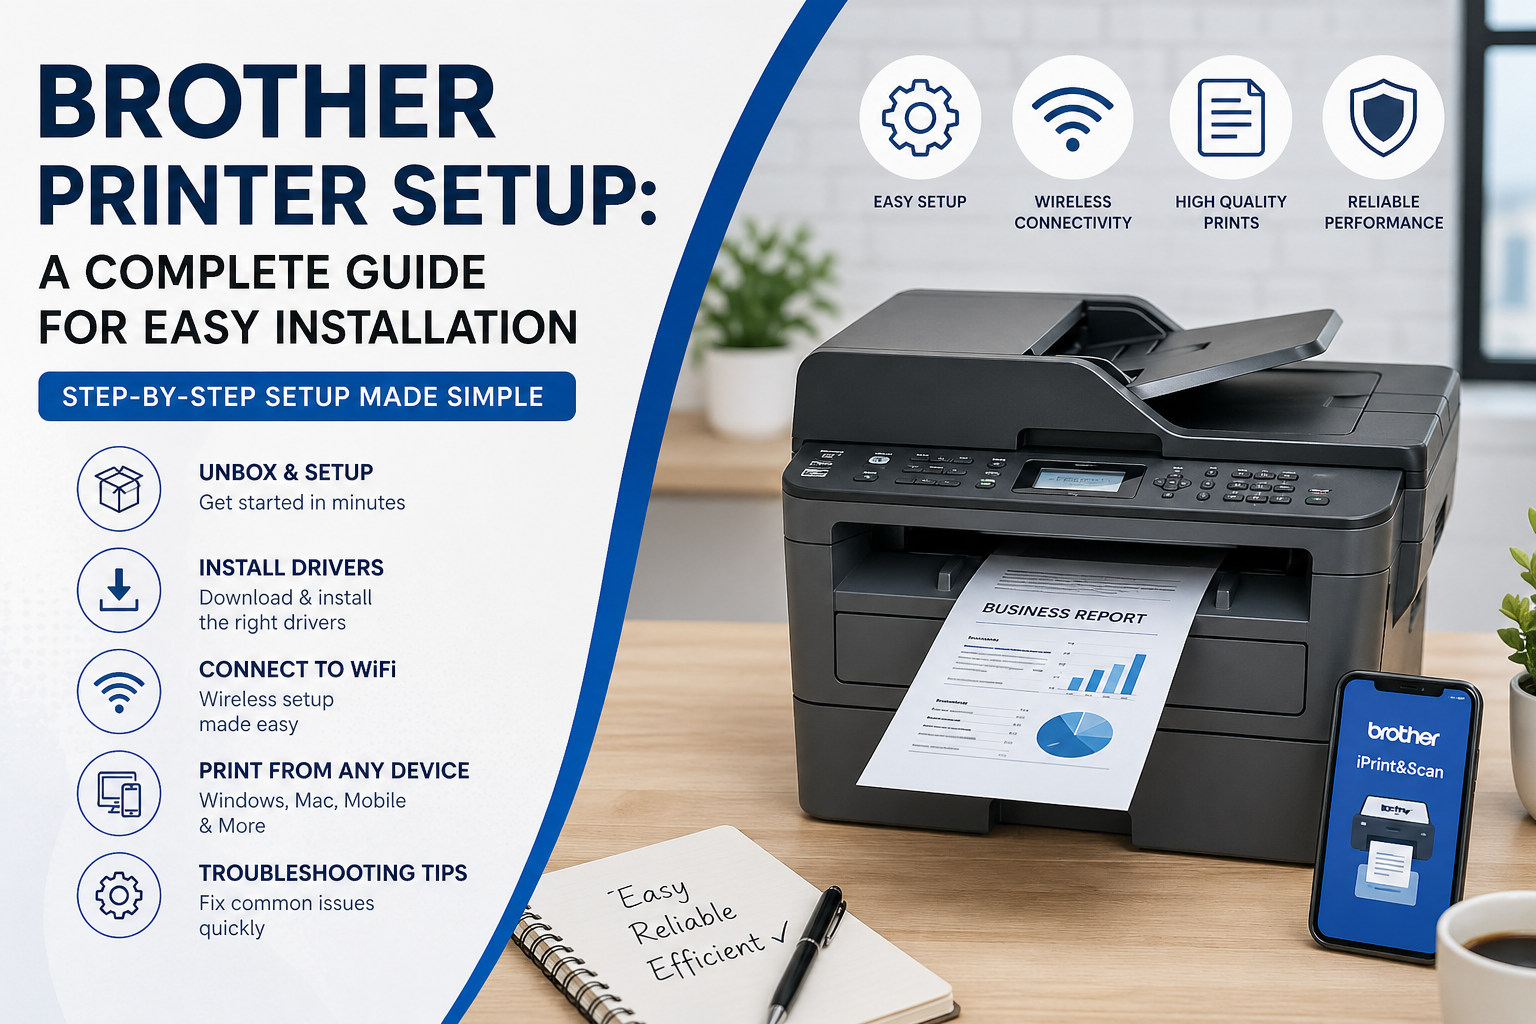
Brother Printer Setup: A Complete Guide to Get You Printing Without the Stress
So you’ve got a new Brother printer sitting there. The box is open, cables are everywhere, and you’re thinking… why does this feel harder than it should be?
You’re definitely not the only one. The good news is once it’s set up properly, a Brother printer is one of the most reliable machines you’ll use at home or in the office.
This guide walks you through the setup step by step so you can get from stuck to printing in no time.
Step 1: Start with the basics
Before getting into anything technical, make sure the simple stuff is done properly.
-
Take all packaging and protective tape off
-
Install the toner or ink cartridges
-
Load paper into the tray
- Plug the printer in and turn it on
- It sounds obvious, but a lot of setup issues come from something small being missed here.
-
If you’re setting up one of our models, you can browse compatible options here:
Brother Printers Collection
Step 2: Install the correct drivers
- If your printer isn’t working properly, this is usually the reason.
-
Go to the official Brother support page
-
Search for your printer model
-
Download the latest drivers for your system
- Install them and follow the prompts
- Use the full software package, not just the basic driver. It makes a big difference to how smoothly everything runs.
-
Official downloads are here:
https://support.brother.com
Step 3: Connect your printer to WiFi
- This is where most people get stuck, but it’s actually pretty straightforward.
-
Go into the printer’s Network or WLAN settings
-
Open the Wireless Setup Wizard
-
Select your WiFi network
-
Enter your password
- Wait for the confirmation message
- Once that’s done, your printer is connected and ready to go.
-
If you need extra help:
https://support.brother.com/g/s/support/wireless_setup.html
Step 4: Add the printer to your computer
- Now you just need to connect it to your device.
-
On Windows
-
Go to Settings, then Printers and Scanners
-
Click Add a printer
- Select your Brother printer
-
On Mac
-
Go to System Settings, then Printers and Scanners
-
Click Add Printer
- Select your device
- If it doesn’t show up straight away, restart your computer and try again.
Step 5: Print from your phone
- You don’t need a computer for everything anymore.
- Download the Brother iPrint and Scan app and you’ll be able to print directly from your phone.
-
More info here:
https://www.brother.com/apps/iphone/
Step 6: Quick fixes if something isn’t working
Tech doesn’t always behave, so here are a few quick things to try.
If the printer won’t connect
-
Restart the printer and your router
-
Run the wireless setup again
- Double check your WiFi password
-
If it’s not printing
-
Make sure it’s set as the default printer
-
Check paper and toner
- Reinstall the drivers
- If printing is slow
- Move the printer closer to the router
- Reduce network congestion if possible
Final thoughts
Once everything is set up properly, Brother printers tend to just work. They’re reliable and easy to live with day to day.
Most problems come back to setup or drivers, so getting that right upfront saves a lot of headaches later.
Need a hand?
If you’re still having trouble or just want the easiest setup option, check out our full range here:
👉 Browse Brother Printers and Guides
Brother support website